
Seamlessly connect Zendesk with 7en.ai to empower your AI agents to manage customer support tickets, streamline query resolution, and enhance user satisfaction. This guide provides a clear, step-by-step process to integrate Zendesk with 7en.ai, enabling automated ticketing and real-time support workflows.
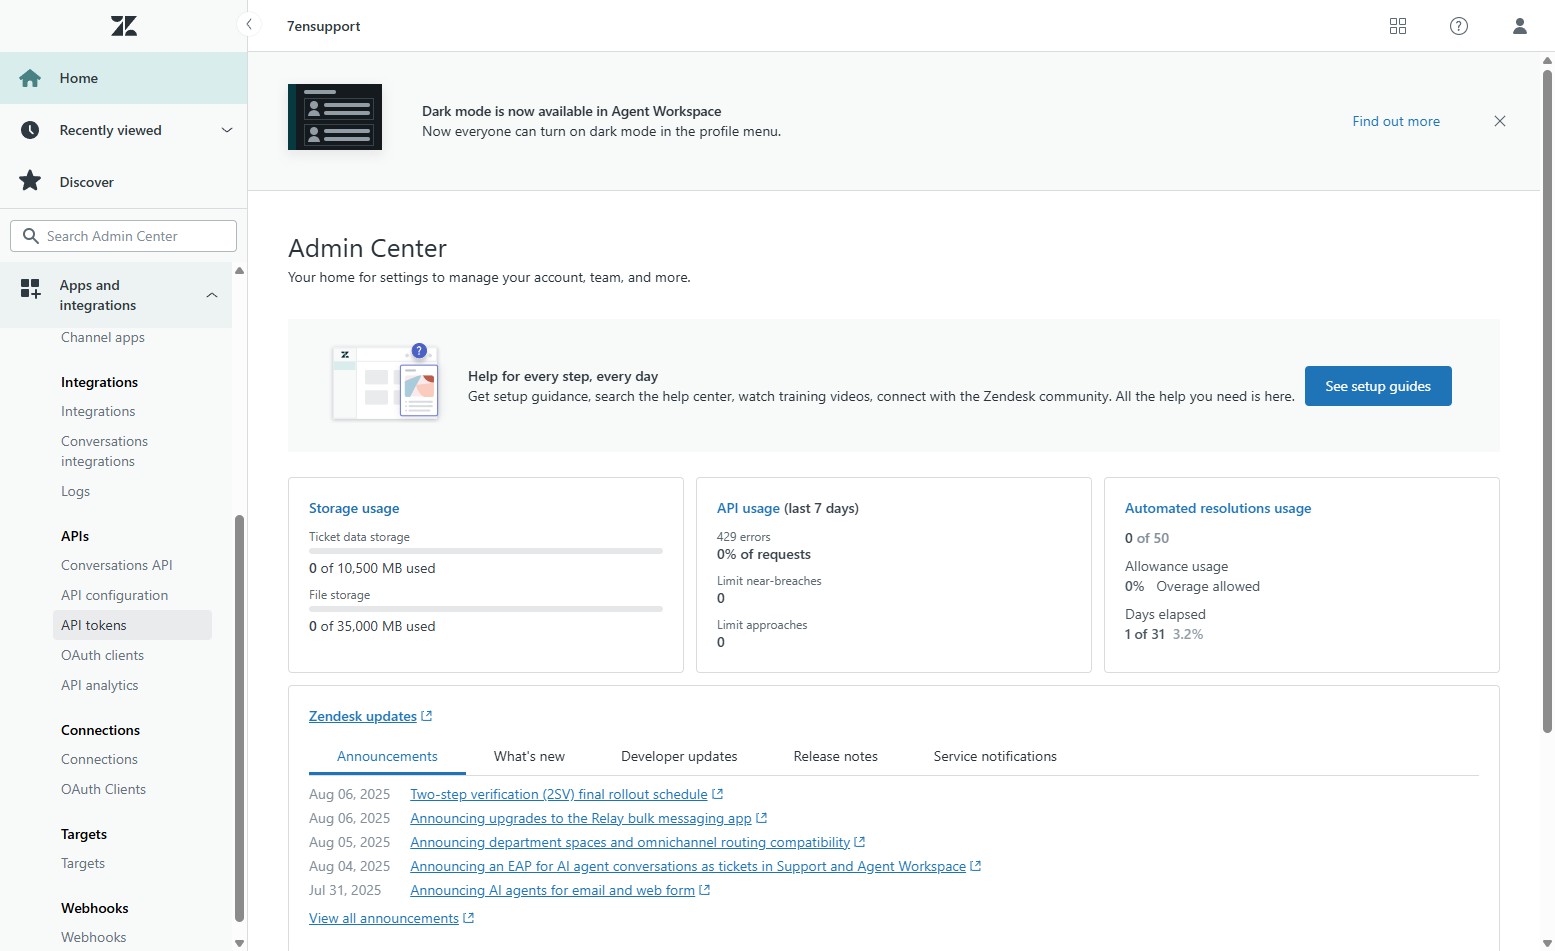
Ensure you have active 7en.ai and Zendesk accounts with administrative access. You’ll need your 7en.ai API token from Settings > API Keys in the 7en.ai dashboard.
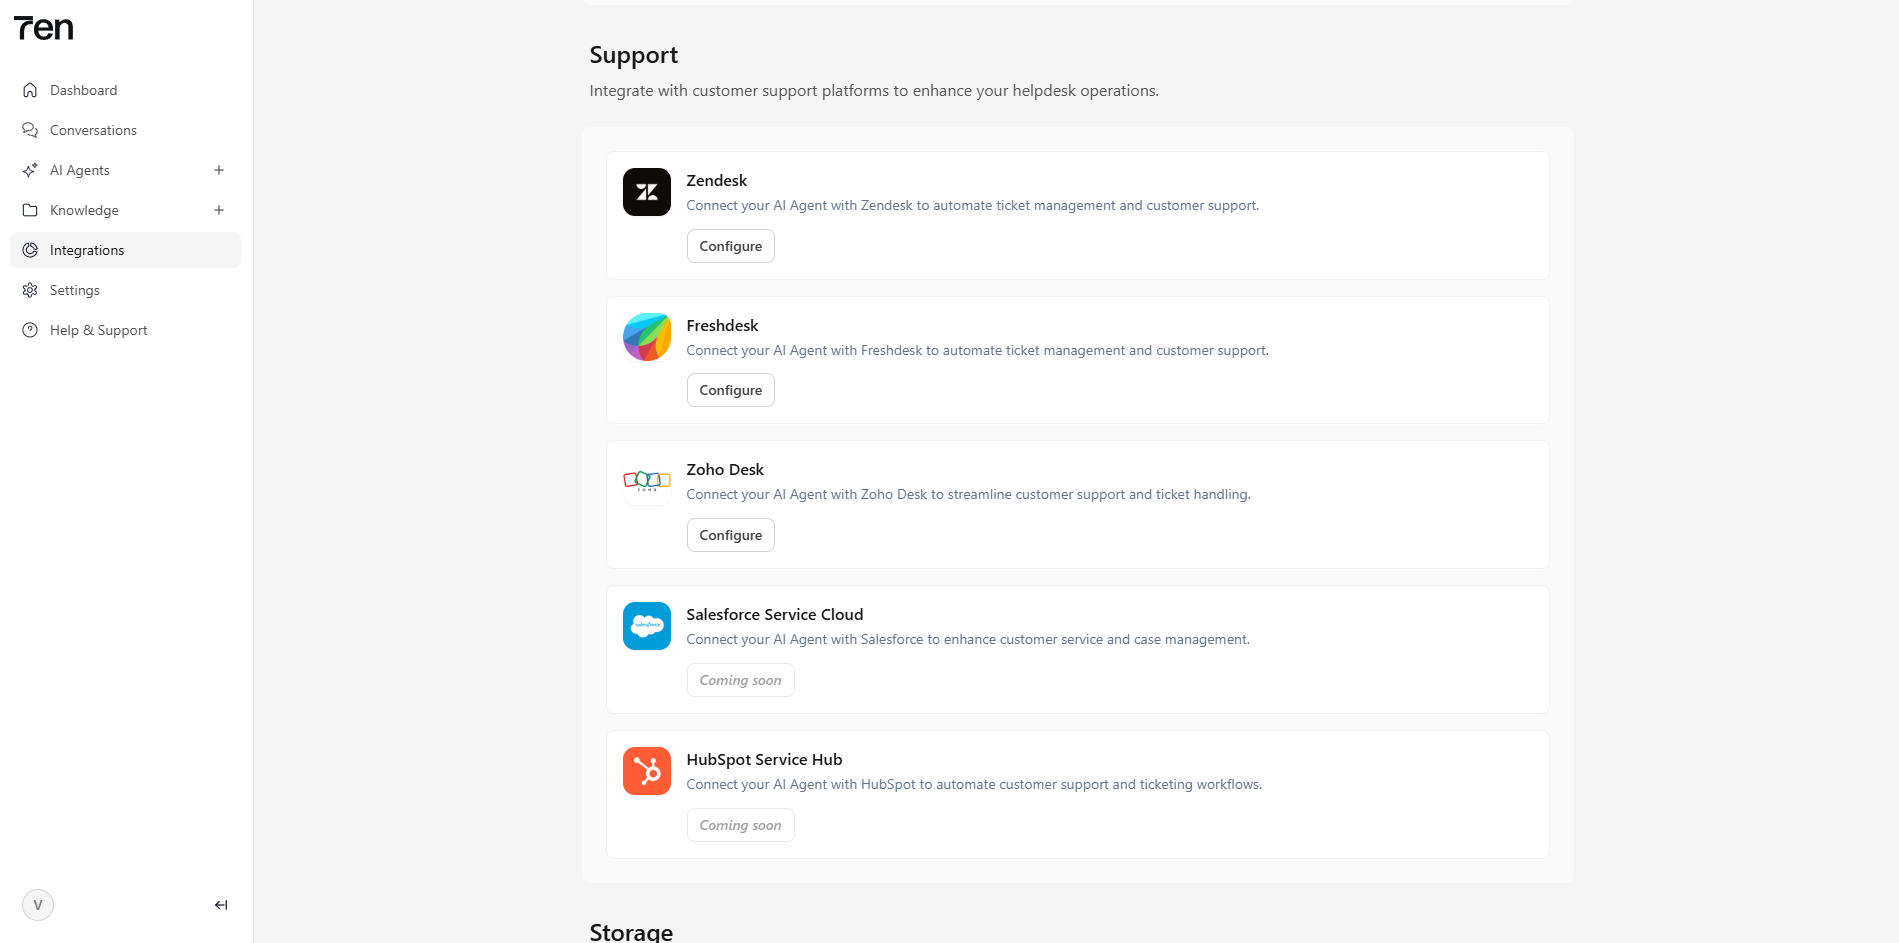
Integrating Zendesk with 7en.ai unlocks powerful automation for your support operations:
This connection transforms your AI agents into a robust extension of your customer support team.
Let your AI agent reply to Zendesk tickets automatically
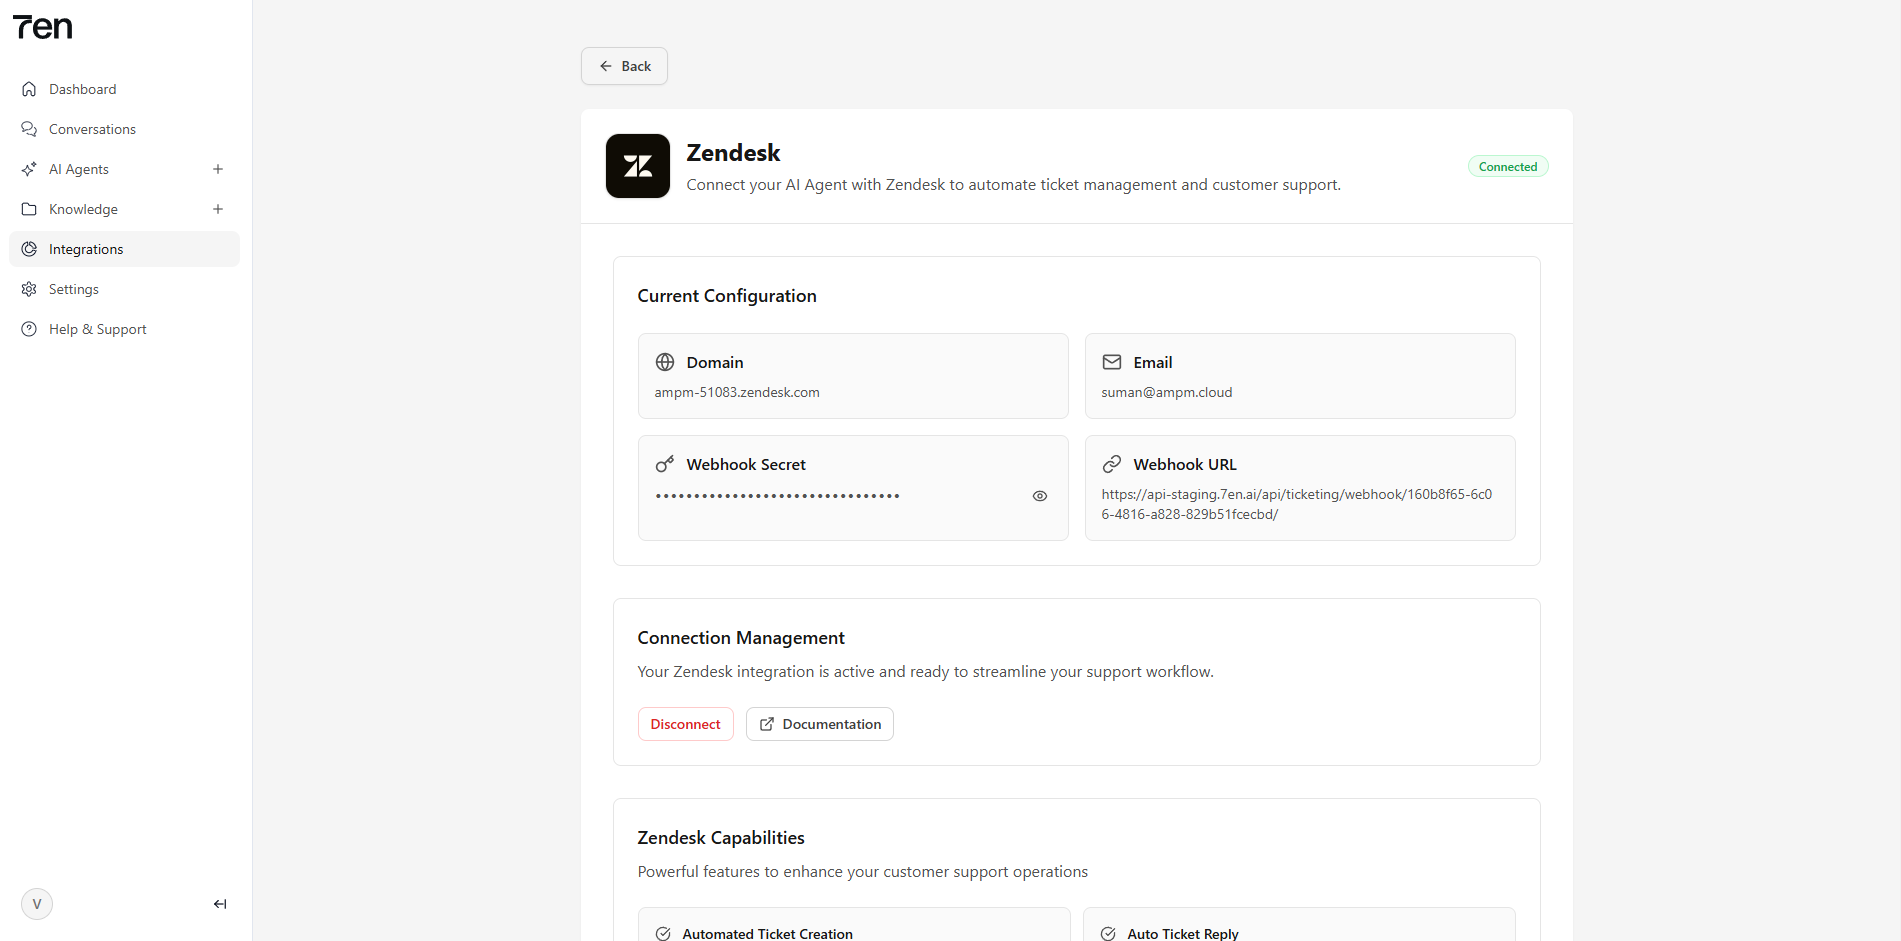
Once connected, you can enable Auto Ticket Reply on any agent — your 7en.ai agent will automatically respond to incoming Zendesk tickets using its trained knowledge, without any manual intervention.
To enable it:
From that point on, every new Zendesk ticket is picked up by the agent and replied to instantly — cutting response times and reducing support load.
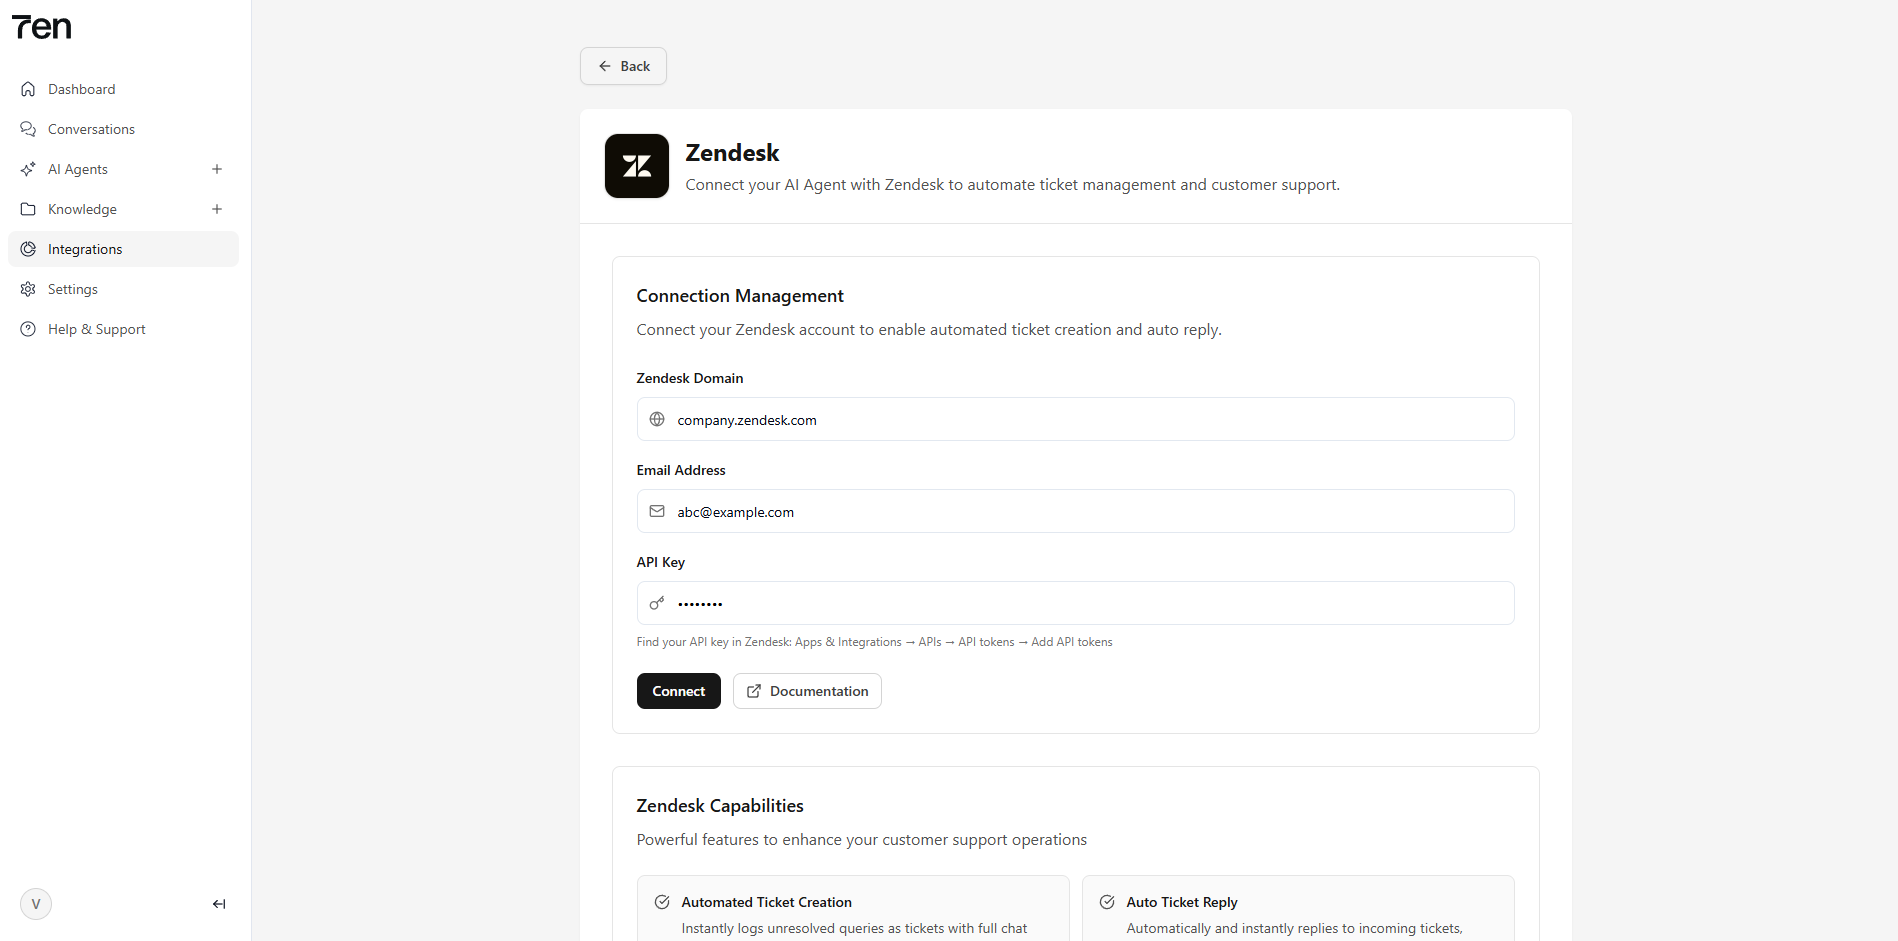
Follow these steps to connect Zendesk to 7en.ai, with visual aids to ensure a smooth setup process.
Get your Zendesk domain (e.g., company.zendesk.com) from the browser’s address bar or account settings.
Start building intelligent AI agents to engage with customers.